How to Use Roblox Templates with Custom Patterns
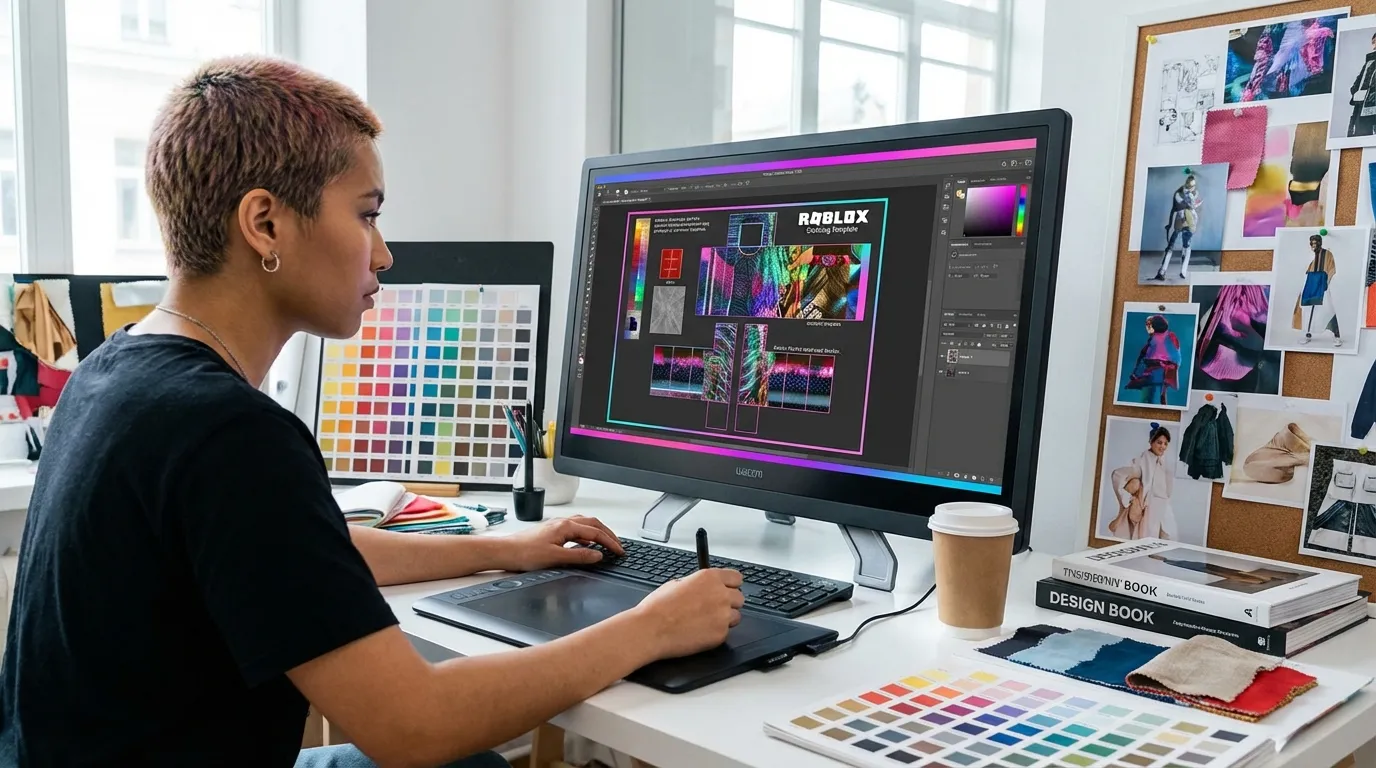
Designing custom clothing for Roblox avatars can be simple and fun. Start by downloading official templates from Roblox Creator Hub, which provide the exact dimensions and layout for shirts, pants, and T-shirts. Use editing tools like Alive Games for Skins, a browser-based platform with built-in templates, to create and preview your designs. Focus on layering patterns, aligning elements, and ensuring transparency for clean results. Once your design is ready, export it as a PNG file with proper dimensions (e.g., 585×559 pixels for shirts). Upload your file via Roblox’s Create tab, ensuring it meets platform guidelines to avoid moderation issues. This process lets you bring your ideas to life and stand out in the Roblox world.
How to Make Custom Clothing | Roblox Quick Tips
Getting and Setting Up Roblox Templates
Before diving into custom designs, you'll need the right template files. These templates act as your blueprint, offering the exact layout and dimensions to ensure your designs fit perfectly on Roblox avatars.
How to Download Roblox Templates
The best place to get Roblox templates is the official Roblox Creator Hub, specifically in the "Classic clothing" documentation section. Here, you'll find the most up-to-date files tailored to current avatar models and platform standards. Templates are available for different clothing items like shirts, pants, and t-shirts.
Always stick to official templates from the Creator Hub. Using unofficial or outdated versions can lead to alignment problems, such as misplaced graphics or noticeable gaps in your designs. If you're planning to share or sell your creations, think about adding a watermark for protection. Once you've downloaded the official template, you're ready to bring it into your editing tool.
Importing Templates for Editing
After downloading, the next step is to import the template into your editing software. If you're using Alive Games for Skins, the process is even simpler - this web-based editor comes with preloaded Roblox shirt templates. That means you can skip downloading and importing manually, jumping straight into your design work.
For other editors, make sure to import the template as a PNG file to maintain its transparency. Avoid resizing or altering the dimensions of the file. Once imported, lock the template layer and create new layers for your custom designs. This way, the template remains intact as your guide, giving you the freedom to experiment with patterns and styles on separate layers.
Creating and Adding Custom Patterns
Turn your template into something special by incorporating custom patterns.
Adding Patterns to Templates
The key to a polished design lies in how you manage your layers. Start by creating separate layers for each element - like the base template, patterns, and any additional graphics. Place the pattern layer above the background but beneath any details or logos. This setup allows you to tweak or swap out patterns easily without disturbing the rest of your design. Only merge layers once you're completely satisfied with your final look.
Platforms like Alive Games for Skins simplify this process with their web-based editor. It comes with preloaded Roblox shirt templates and offers drag-and-drop tools for placing patterns, along with real-time previews. This means you can customize templates - adding colors, logos, and patterns - right in your browser, no extra software required.
To apply your custom pattern, use tools like the marquee select or magic wand to isolate specific areas of the template. This ensures the design stays confined to the intended sections, leaving the rest transparent. Once that's done, adjust the position and size of your pattern to make sure it seamlessly wraps around the avatar.
Adjusting Pattern Position and Size
Proper positioning is crucial for your pattern to look good on a 3D avatar. If your editor allows, preview your design on a 3D model to check how the pattern fits around edges and corners. Misaligned patterns can create visible seams or distortions, so take the time to fine-tune their placement. Use reference images or guides to align the pattern with the template's folds and sections.
Most online editors provide transform tools that let you resize, rotate, and move your patterns with precision. When resizing, keep the aspect ratio intact to avoid stretching or squishing the design. Patterns that are too large can dominate the design, while overly small ones might get lost on the avatar.
Transparency is another critical factor here. Ensure that only the clothing areas are visible and the rest of the template remains transparent. Double-check your settings to avoid common issues, like unwanted background colors showing up in-game.
Once you've nailed the basics, you can dive into more advanced editing techniques to refine your design further.
Advanced Editing Options
After getting the hang of basic pattern placement, step up your game with advanced techniques. Experiment with blending modes like multiply, overlay, or screen to integrate your patterns with the base colors. Add gradient overlays for extra depth or adjust opacity for more subtle effects. You can also include watermarks or custom logos on separate layers, and use masking tools to apply patterns to specific areas of the template.
For example, you can add a watermark by creating a new layer and reducing its opacity, ensuring your design stays protected. Always use high-resolution patterns to achieve professional results, and keep your design within the template's boundaries. Layers are your best friend for creating complex effects, and maintaining a consistent color scheme with subtle gradients or shadows can add realism to your work. Save your progress in stages and keep editable files handy for easy revisions.
Alive Games for Skins supports these advanced features, offering a user-friendly editing interface. Its real-time preview tool shows exactly how your blending effects, overlays, and watermarks will look on the final avatar. This saves you time and reduces the hassle of repeated exports and tests.
Exporting and Uploading to Roblox
Once your design is ready, the next step is getting it onto Roblox. This involves exporting your work correctly and following the platform's upload process. Paying attention to the technical details ensures your creation looks perfect on your avatar.
Exporting Your Design
Save your completed template as a PNG file to maintain the transparency required by Roblox. Formats like JPG won't work for this purpose.
If you're using tools like Alive Games for Skins, they simplify the process by providing export options tailored for Roblox. These tools make sure your file meets the proper dimensions and format, so you don’t have to worry about getting it wrong.
Here’s what to keep in mind when exporting:
- File Dimensions: Export at 585×559 pixels for shirts or pants, and 512×512 pixels for T-shirts.
- File Size: Keep the file under 1 MB.
- Transparency: Ensure all non-clothing areas are fully transparent. Any background colors in these areas will show up in-game, potentially ruining your design.
Double-checking these details before exporting will save you from headaches later.
Uploading to Roblox
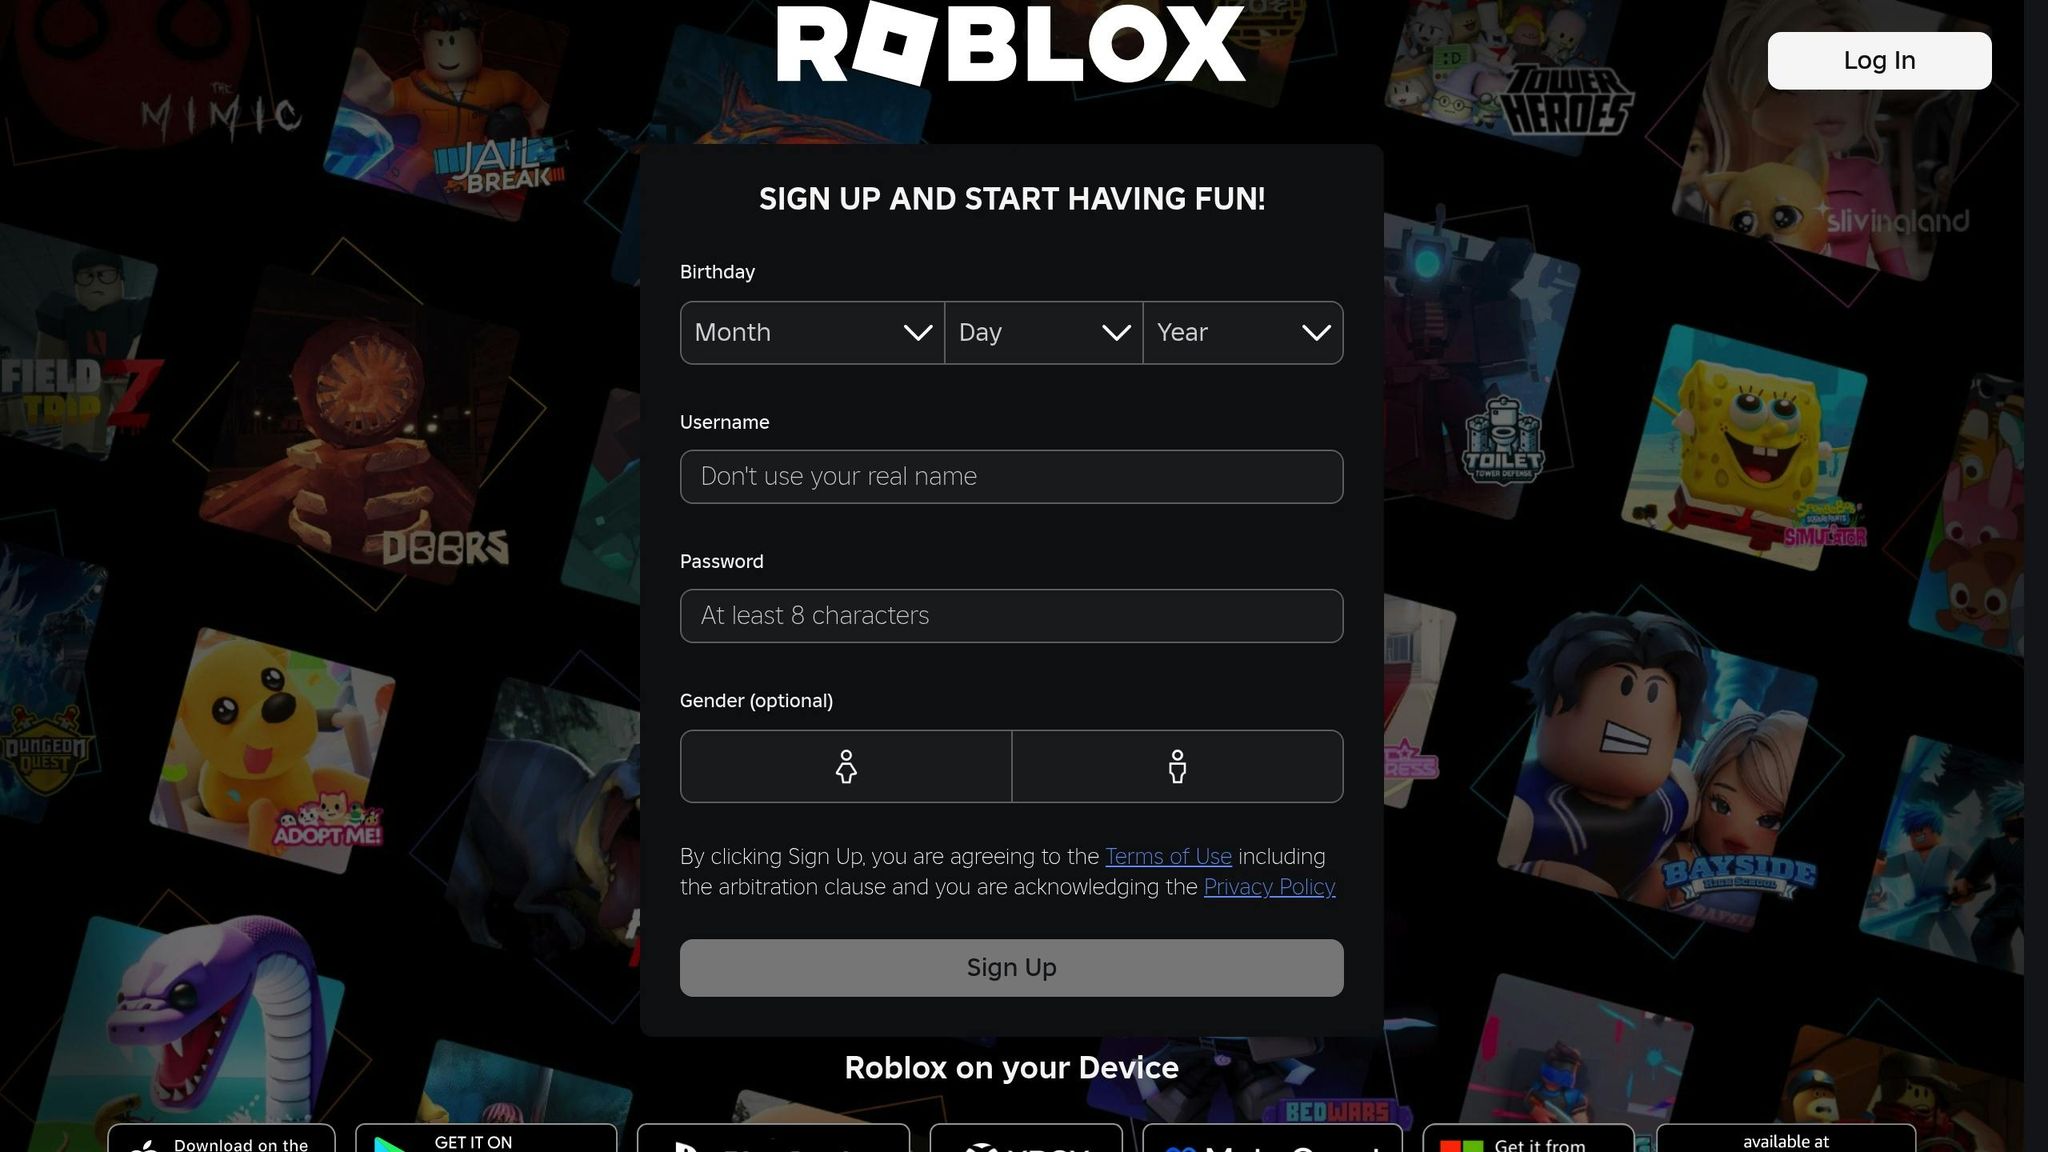
When your design is exported properly, you’re ready to upload it to Roblox. Start by logging into your Roblox account and heading to the Create tab. Select the type of item you’re uploading: Shirts, Pants, or T-Shirts.
Follow these steps to upload:
- Click the upload button and choose your PNG file.
- Give your item a clear, descriptive name, especially if you plan to sell it.
- Use Roblox’s preview feature to check for any alignment or transparency issues. This step helps you catch mistakes before publishing.
If you want to sell your design, you’ll need Roblox Premium (which costs $4.99/month) and will have to pay a 10 Robux fee for each item. For group uploads, use the group’s Create tab to make the item available to group members.
After uploading, your design will go through Roblox’s moderation system. This review process checks for inappropriate content and can take anywhere from a few minutes to several hours. To avoid delays or rejection, steer clear of copyrighted images, trademarked logos, or anything that violates Roblox’s community guidelines.
Here are some common upload issues and how to address them:
| Issue | Solution | Prevention |
|---|---|---|
| Incorrect file format | Convert to PNG format | Always export as PNG, not JPG |
| Wrong dimensions | Resize to 585×559 or 512×512 | Use templates with correct dimensions |
| Missing transparency | Ensure non-clothing areas are clear | Check transparency before exporting |
| Moderation rejection | Remove copyrighted content | Stick to original designs only |
Sometimes, your design might not show up in your inventory right away. If that happens, try refreshing the page or give it a little more time. Once approved, your custom clothing will be ready to wear and share in the Roblox universe.
Tips and Common Problems
Here’s a collection of practical advice to help you avoid common pitfalls and get the best results when creating custom patterns.
Tips for Better Results
- Align elements using template guides. Stripes, logos, or graphics should flow seamlessly across body parts, like from the torso to the arms or legs. This ensures your design looks polished without awkward breaks at the seams.
- Separate design elements into layers. Use one layer for background colors, another for patterns, and a third for text or logos. This makes it easier to tweak individual elements without disrupting the entire design.
- Check alignment with a 3D preview. Tools like Alive Games for Skins let you see how your pattern wraps around the avatar in real-time. This helps you catch and fix distortions or misalignments early on.
- Work in high resolution. Stick to the full 585×559 pixel resolution to keep your designs crisp and detailed in-game. Avoid compressing images, as this can blur fine details.
- Add a watermark. Placing your username discreetly on your design protects it from being copied and builds your brand if you plan to make multiple skins. Choose a subtle spot that doesn’t interfere with your main design.
- Zoom in and out while editing. This helps ensure your design looks good both up close and at normal viewing distances. Balance intricate details with bold elements that stand out.
Fixing Common Issues
Even with these tips, you might run into some challenges. Here’s how to tackle them:
- Upload errors often happen because of file issues. Make sure you’re using the PNG format (not JPG or others) and confirm that your file dimensions are exactly 585×559 pixels for shirts and pants, or 512×512 pixels for T-shirts.
- Misaligned patterns occur when your design doesn’t follow the template’s structure. If stripes or graphics look broken, use the template’s guide lines to realign everything. Pay special attention to transitions between the torso, sleeves, and legs.
- Transparency issues arise when areas meant to be clear show unwanted colors or textures. Double-check that non-clothing areas are fully transparent before saving.
- Distorted textures happen when flat designs don’t account for how they wrap around a 3D avatar. Adjust the size and placement of pattern elements to ensure they look natural when curved around the avatar’s body.
- Moderation delays or rejections can result from using copyrighted material or violating Roblox’s guidelines. Stick to original artwork and avoid using trademarked logos, characters, or images you don’t own. If your design gets rejected, review Roblox’s community standards and remove any problematic elements.
Here’s a quick reference table for common problems and solutions:
| Problem | Quick Fix | Prevention |
|---|---|---|
| Pattern doesn’t align | Use template guides to reposition elements | Preview on a 3D model before exporting |
| File won’t upload | Convert to PNG and check dimensions | Always export in the correct format and size |
| Design looks blurry | Work at full resolution without compression | Start with high-quality source images |
| Transparency errors | Clear non-clothing areas completely | Double-check transparent zones before saving |
Always export as PNG. If your software defaults to another format, use "Export As" or "Save As" to select PNG. This ensures transparency is preserved.
If your design displays misaligned after upload, it’s likely due to a template mismatch. Double-check that you’re uploading shirts to the shirt category, pants to the pants category, and T-shirts to the T-shirt category. If necessary, re-download the official template, reapply your design, and try uploading again.
For an easier experience, consider using web-based tools like Alive Games for Skins. These tools handle export settings automatically and offer built-in previews, saving you time and effort while perfecting your custom Roblox skins.
Conclusion
Designing custom patterns for Roblox templates is a simple and rewarding process. Start by downloading the right template, layer on your unique designs, and export the finished file as a PNG with the correct dimensions. Tools like Alive Games for Skins make this even easier by offering a web-based editor that comes with preloaded templates, export settings, and real-time 3D previews. This streamlined approach not only speeds up the workflow but also allows creators of all skill levels to craft professional-grade designs effortlessly.
As one user shared, "Alive is so easy to use that even a player with no skills can create 3D assets just from a prompt and a simple editor". This kind of accessibility is a game changer in a community where creativity is the driving force. With the rise of user-generated content, platforms that simplify the creation process are becoming invaluable for both individual creators and game studios alike.
By mastering the steps from template setup to troubleshooting, you're equipped to tackle any design challenge. Stick to the core principles of good design, and your creations will shine in the expansive Roblox universe.
With these tools and techniques, you can turn simple templates into stunning Roblox skins, making your avatar stand out in any game or social space.
FAQs
What are the advantages of using Roblox templates to design custom clothing?
Roblox templates are ready-to-use design files that simplify creating custom clothing for your avatar. These files, usually in .png format, come with precise dimensions to ensure your designs fit seamlessly on Roblox characters.
By using official templates, you save time and avoid compatibility issues with the platform. You can easily customize these templates by adding your own colors, patterns, or logos, giving your designs a personal touch without dealing with complex technicalities. Tools like Alive Studio make it even easier, offering a user-friendly editor that eliminates the need for extra software, letting you focus entirely on your creativity.
How do I make sure my custom patterns fit perfectly on a 3D Roblox avatar?
To get your custom patterns to fit perfectly on a 3D Roblox avatar, it's best to start with the official Roblox templates. These templates outline the precise dimensions and placement for each part of the avatar, giving you a solid foundation to design accurately.
As you work on your patterns, always preview them on a 3D model to spot any misalignments or distortions early. Tools like Alive Games provide intuitive editors and preview features, allowing you to tweak your designs and ensure everything fits smoothly before exporting them for use in the game.
What should I do if my custom design is rejected by Roblox moderation?
If Roblox rejects your design during the moderation process, the first step is to carefully review the feedback they provide. This feedback usually explains why your design was not approved, such as violations of community standards or design guidelines.
From there, make the necessary changes to ensure your design meets Roblox's rules. This could mean tweaking inappropriate elements, removing copyrighted material, or adjusting the size and format to fit their requirements. Once you've made these updates, you can submit your design again for approval.
To make the process easier, you might want to explore tools like Alive Games. These tools offer customizable templates and intuitive features, helping you create polished designs that align with Roblox's standards.